


Designing a website has never been easier or more collaborative than with Figma. This innovative web-based design tool has revolutionized the way professionals and teams approach UI and UX design. Whether you’re just starting or looking to refine your skills, mastering Figma for website design can give you a significant edge.
In this guide, you’ll learn the ins and outs of how to use Figma for website design. We’ll cover everything you need to know, from setting up a project to creating responsive layouts.
What is Figma, and why is it used for website design?

Figma is a cloud-based design tool that enables real-time creation, collaboration, and iteration. Unlike traditional software, it works directly in a browser and offers seamless file sharing.
Key Benefits of Using Figma
- Collaborative Features: Collaborate in real time with your teammates.
- Cross-Platform Accessibility: Access your projects from anywhere.
- Responsive Design Tools: Perfect for creating scalable and adaptable websites.
- Plugins and Integrations: Extend functionality with hundreds of plugins.
For website designers, Figma’s flexibility and precision make it the go-to tool.
Setting Up Your Figma Workspace
Before diving into the creative process, it’s essential to set up your Figma workspace for optimal efficiency.
Step 1: Create a Figma Account
Visit Figma’s official site and sign up for a free account. Premium plans are available for advanced features like team libraries.
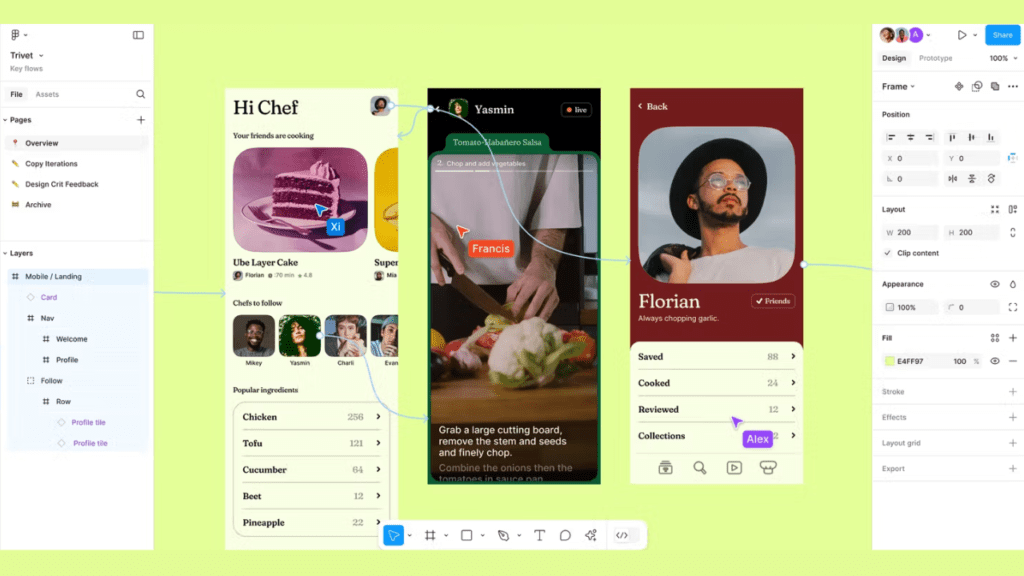
Step 2: Understand the Interface
The Figma interface is user-friendly. It consists of:
- Toolbar: Includes tools like frames, text, and shapes.
- Layers Panel: Organize and manage your design elements.
- Properties Panel: Adjust size, color, and alignment settings.
Step 3: Install Figma Plugins
Plugins like Unsplash for free images and Autoflow for wireframe connections can speed up your workflow.
Starting a New Website Design Project in Figma
Now that your workspace is ready, let’s start designing a website.
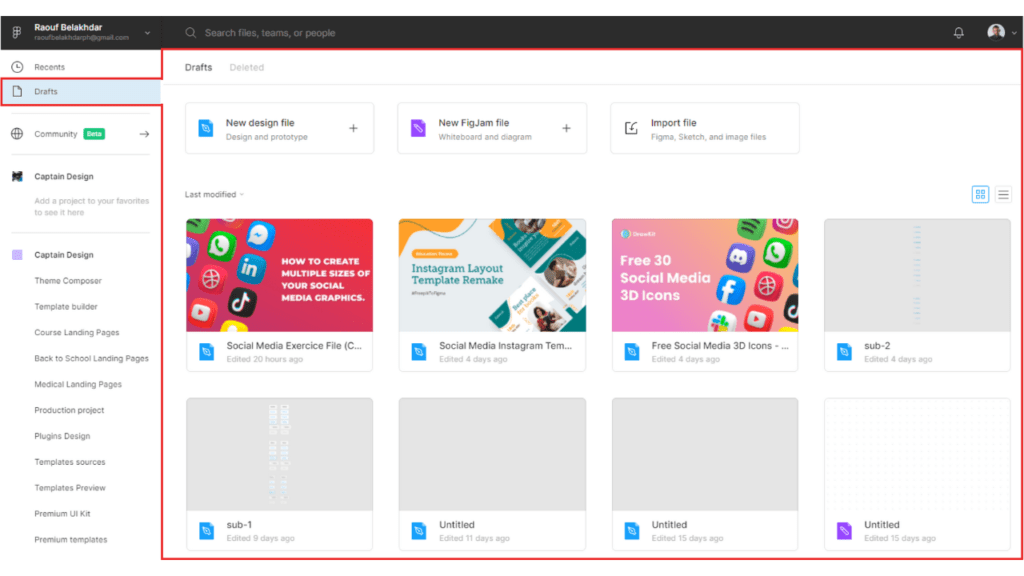
Step 1: Create a New File
- Open Figma and select New File.
- Use the Frame Tool (F) to create your website canvas. Common sizes include:
- Desktop: 1440×1024 pixels
- Mobile: 375×812 pixels
Step 2: Build a Wireframe
A wireframe is the blueprint of your website.
- Use Shapes: Draw rectangles for placeholders like navigation bars or content sections.
- Add Text Elements: Use the Text Tool (T) to label sections like “Header” or “CTA.”
- Align Elements: Use Figma’s grid feature to maintain consistency.
Designing Website Components in Figma
Once the wireframe is complete, you can add details to bring your website to life.
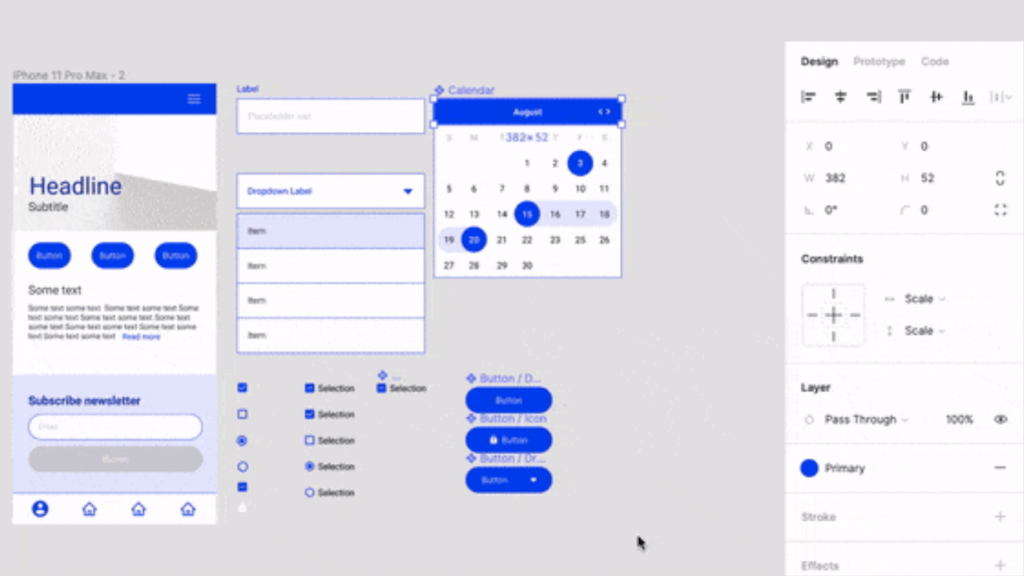
1. Typography and Colors
Figma allows you to create text styles and color palettes to maintain branding.
- Text Styles: Define font size, weight, and alignment.
- Color Styles: Save brand colors for easy application.
2. Buttons and Icons
- Use Figma’s Shape Tool to design buttons.
- Add hover effects using Prototyping Mode.
- Import icons via plugins like Iconify.
3. Images and Media
Drag and drop images directly into your canvas or use Figma plugins for stock images.
Creating a Responsive Website Design in Figma
Responsive design ensures your website looks great on any device.
1. Use Auto Layout
Figma’s Auto Layout feature adjusts elements dynamically.
- Select elements and click Auto Layout in the properties panel.
- Adjust padding and spacing to make designs scalable.
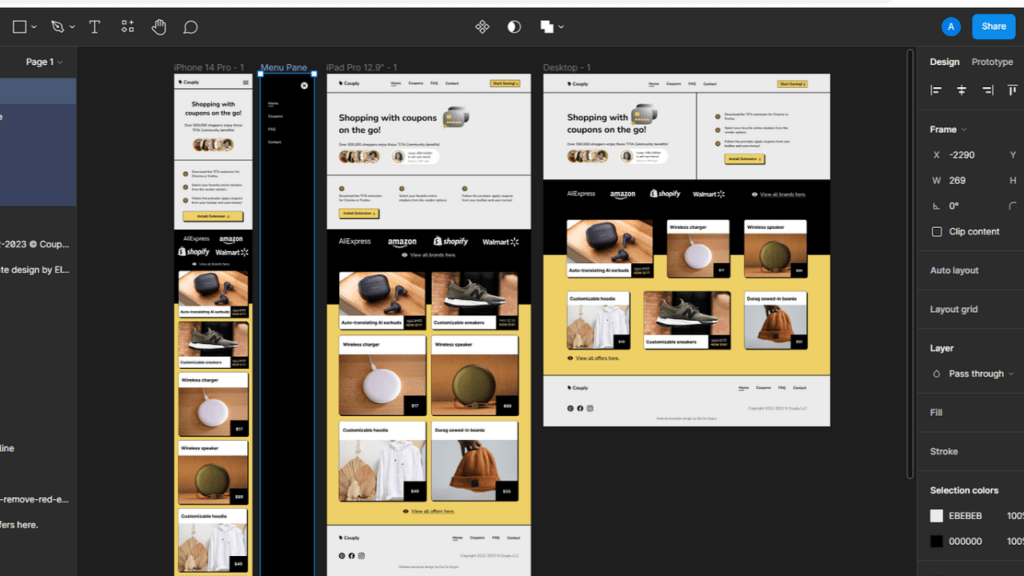
2. Create Multiple Frames
Design separate frames for desktop, tablet, and mobile views.
- Use constraints to ensure elements resize proportionally.
Prototyping and Testing Your Website Design
After creating the design, it’s time to test its functionality.
Step 1: Link Pages
- Enter Prototype Mode and connect frames with interactive transitions.
- Choose triggers like On Click or Hover.
Step 2: Share the Prototype
- Click Share and enable public or team access.
- Test the prototype on multiple devices for accuracy.
Exporting Website Designs from Figma
When your design is finalized, you’ll need to export assets for development.
Exporting Steps
- Select the elements to export.
- Click Export in the properties panel.
- Choose formats like PNG, JPEG, or SVG for images and icons.
Best Practices for Using Figma in Website Design
1. Organize Your Files
- Use folders to separate projects.
- Label layers and groups for clarity.
2. Collaborate Effectively
- Leave comments directly on designs using the Comment Tool.
- Use version history to track changes.
3. Leverage Figma Templates
Start faster with pre-designed templates available in the Figma Community.
How to Use Figma for Website Design: FAQs
What is Figma used for?
Figma is a cloud-based design tool used for creating UI/UX designs, prototypes, and website layouts.
Can I use Figma for free?
Yes, Figma offers a free plan suitable for individual designers.
How do I collaborate on Figma?
Share your project link with teammates, and they can view or edit designs in real time.
What are the benefits of Auto Layout in Figma?
Auto Layout simplifies responsive design by adjusting spacing and alignment dynamically.
Can Figma export code?
Yes, Figma allows you to export CSS, iOS, and Android code for development.
Is Figma better than Adobe XD?
Both tools have strengths, but Figma’s cloud-based nature and collaboration features make it a top choice.
Conclusion
Figma is a powerhouse tool that simplifies the process of website design. From wireframing to prototyping, its intuitive features and collaborative nature make it indispensable for designers. Start by mastering the basics, experiment with layouts, and use responsive design tools to create stunning websites.
